Designing a Complex Product

We have a wide range of products, some being more complex than others. These are products that have multiple panels vs our more standard single or 2 panel designs. 

Complex products include:

  • Apparel 
  • Backpack
  • Duffel bags

STEP 1

First, we need to select one of these products. Select one of the products that you wish to design and click Create Product.


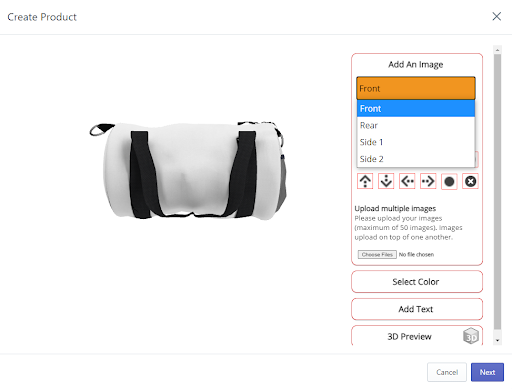
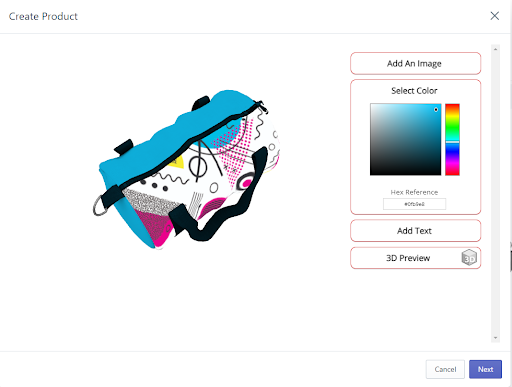
When the product loads, underneath Add Image there will be an orange drop-down menu. This menu will allow you to select specific pieces of the product to customize. You can see here, our duffle bag – large has four distinct options, a front, a rear, and two different sides. First, we are going to add an image to the front of the duffle bag by clicking on the orange drop-down menu and selecting “front”. Once you’ve selected your side you can click on the Add Image prompt to upload an image. If you use a PNG image or the scissor tool to cut out a specific section of your image to make it transparent, when you move to the Select Color tool, it will fill in with the color selected. 

Before using the scissor tool

After using the scissor tool

Note: For a more in-depth look at our designer, follow the link found here https://clubink.com/designer-how-to/

Once you’ve uploaded your image to the designer and have selected the color you’d wish to use, you can use our Add Text tool to pick the section of the product you want to add text to. Once you’ve expanded the Add Text option you’ll see orange text boxes for each side the product offers to customize. Just type in whatever text you want, where you want it, and use the drop-down menu to select font, size, and text color, and rotation options to finish customizing your product and click on the next button

Once you’ve clicked next you can change the name of the product, the description, the pricing, and click Save for it to be added to your store. Congratulations, you’ve now learned how to add a complex product to your store! Happy selling!