Creating a Single Sided Product

STEP 1

To design a 2D product you will first need to select the product. We are going to be doing the Fleece Blanket Sherpa 60” x 80”. Click on Create Product.

Once you’ve selected your product you’re ready to move on to the next step

STEP 2

(Note: You can find a more in depth look at our designer through our breakdown here  https://clubink.com/designer-how-to/ )

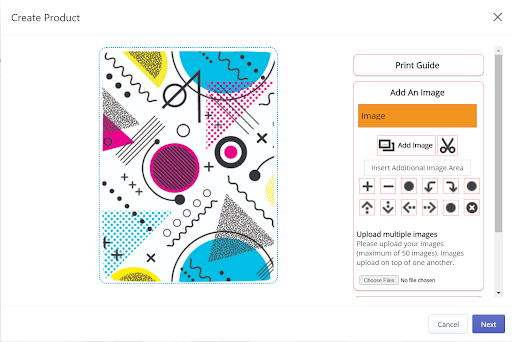
To select an image you click on add an image and select the image you wish to use 

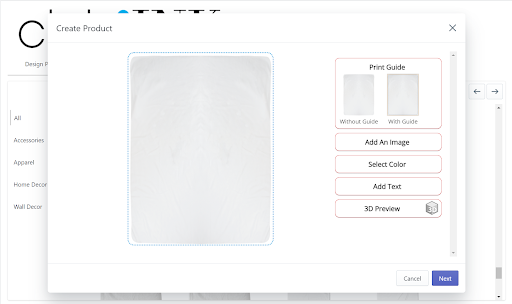
The dotted blue line around the product is called a bleed line. Bleed lines are there to provide a guide for when you upload an image.Your image needs to go to least the bleed line to make sure there will not be an unintentional white area on the product. Our system will warn you if your image does not cover the entire surface.

Once you’ve uploaded your image you can add text to your product. If you add text you can choose the font, font size, and the color of the font to really make it pop!

Once you’re done designing your product you can click on Next and change the name of the product, add a description, and change the pricing.

Once you’ve changed the details to be exactly what you want, click save and the product will be added to your store.